Plato fuerte/Main dish
-
Fideo seco
-
Chicken Tinga
-
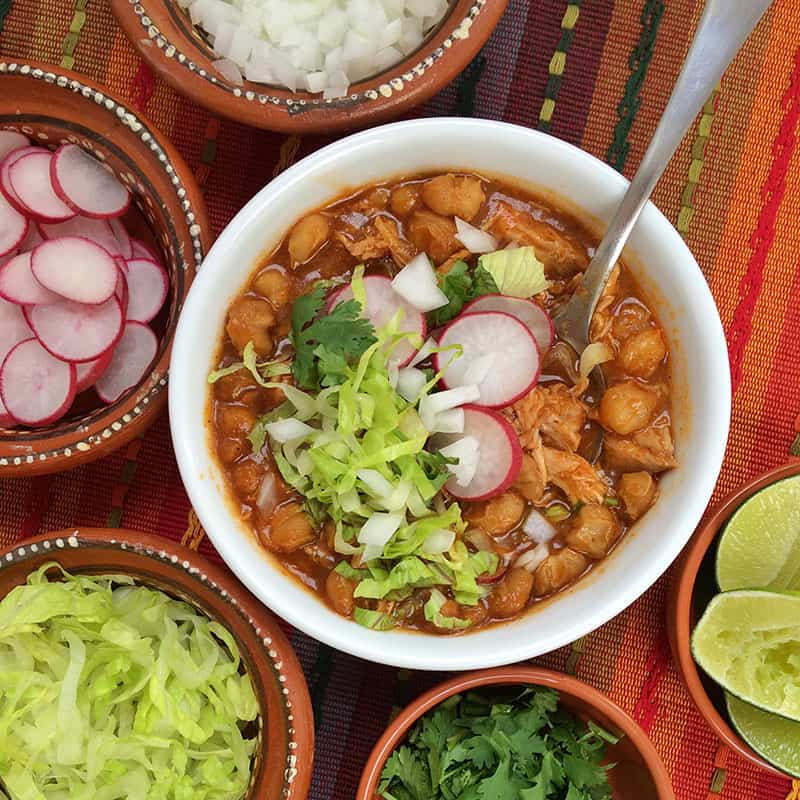
Slow-cooker pozole rojo
-
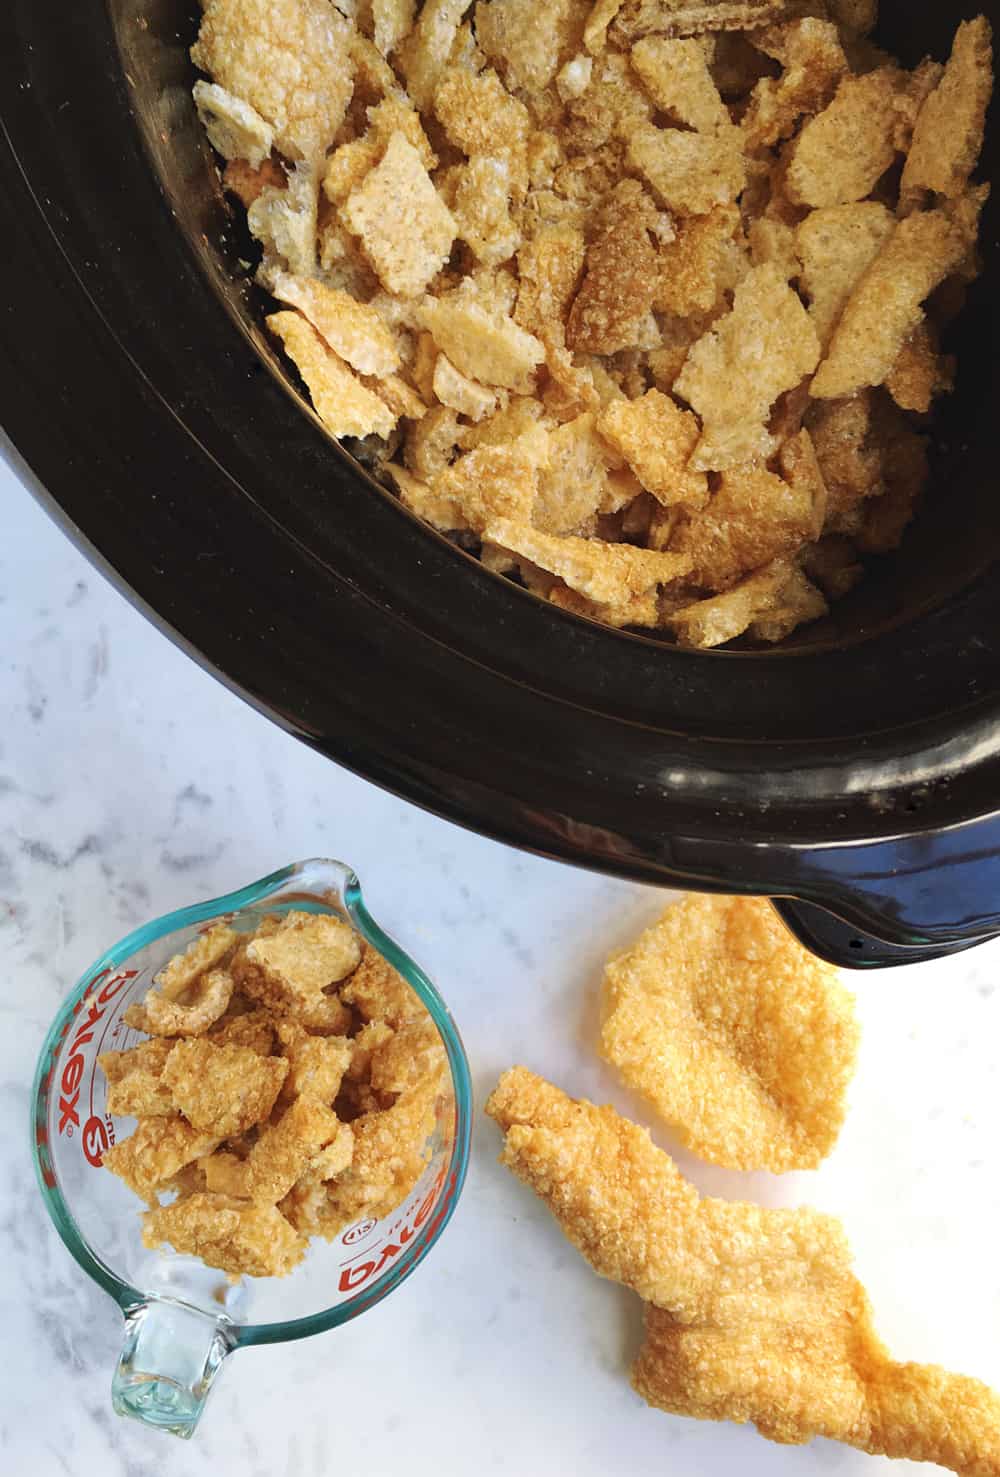
Tacos de chicharrón guisado in the slow-cooker
-
How to make frijoles charros
-
Baked Taquitos
-
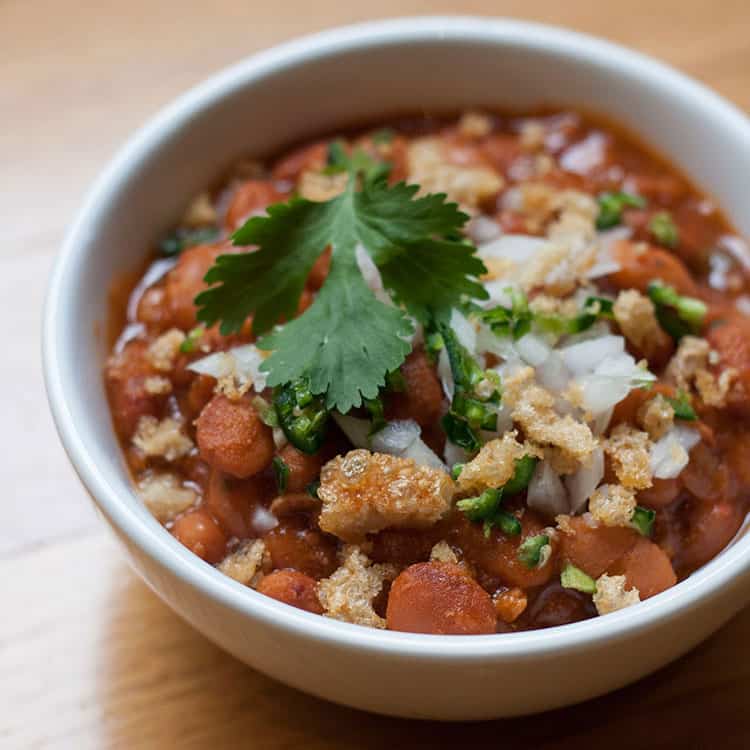
Frijol con puerco
-
Rajas con crema
-
CROCK-POT COCHINITA PIBIL
-
Chile chicken tacos in the slow-cooker
-
Slow-cooker carnitas
-
Albóndigas en salsa chipotle
-
Alambre de la Patrona
-
CHILAQUILES VERDES
-
How to make paella
-
Lasaña Azteca
-
Paella de chorizo, pollo y coles de Bruselas {Go4Gourmet Challenge}
-
Tacos de longaniza en salsa verde
-
Arrachera borracha con rajas de pimiento
-
Mexican Chimichurri Marinated Flank Steak
-
ENCHILADAS VERDES
-
FILETE DE RES A LA CHIAPANECA
-
Cooking Combat at the Kenmore Live Studio: Chilaquiles
-
CHILES EN NOGADA