Most Popular
-
How to make orejas
-
How to Make a Carajillo: The Coffee Cocktail
-
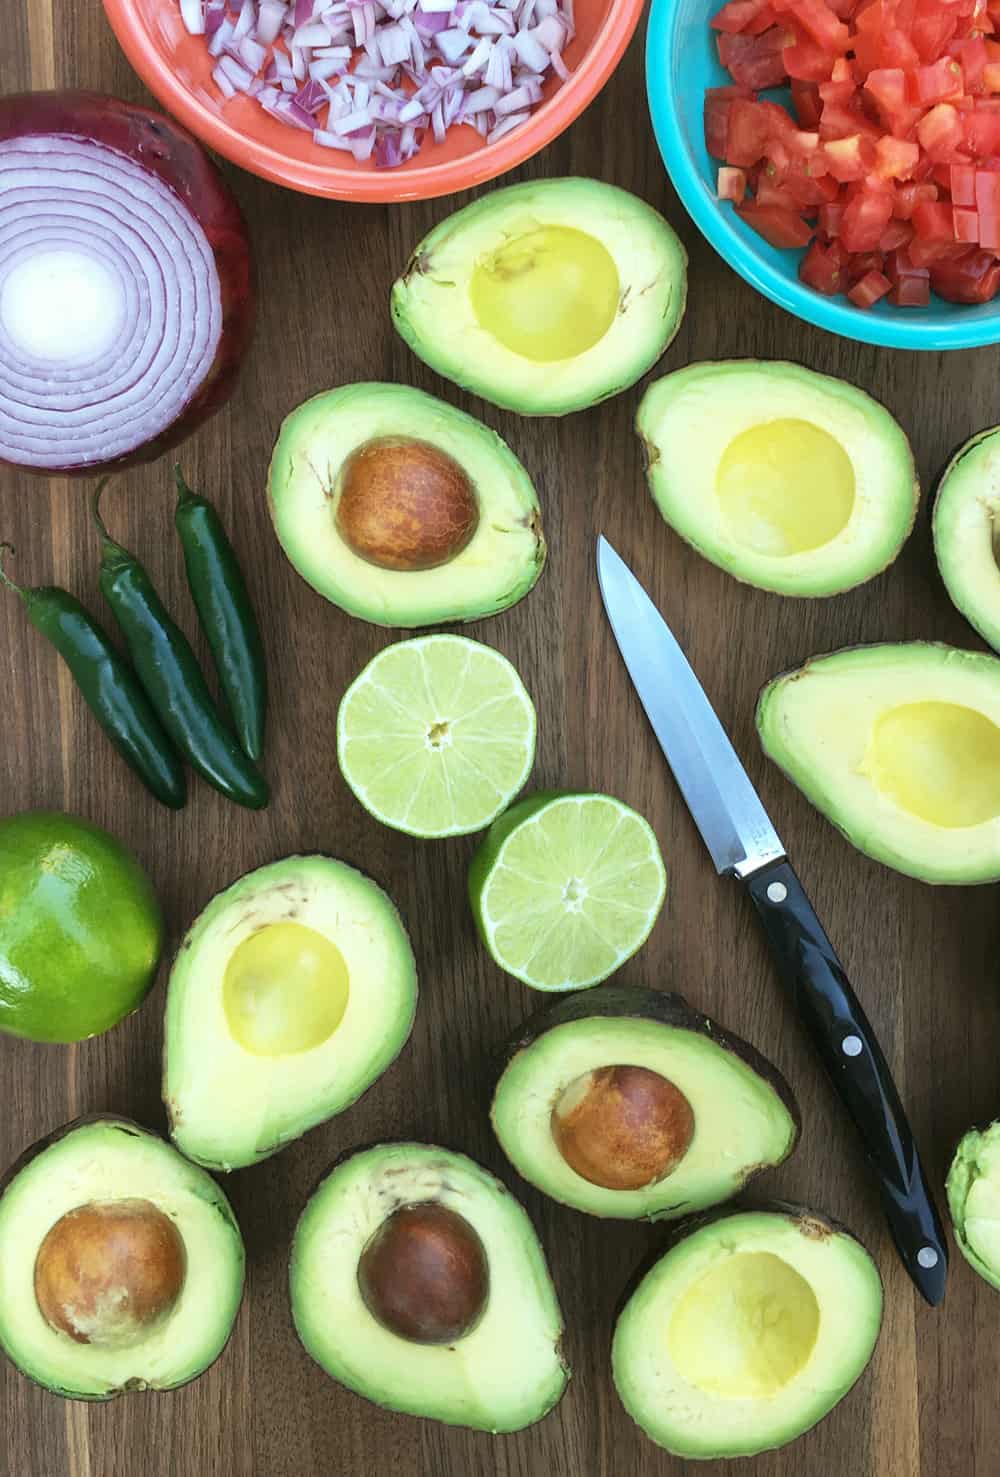
The best guacamole recipe ever
-
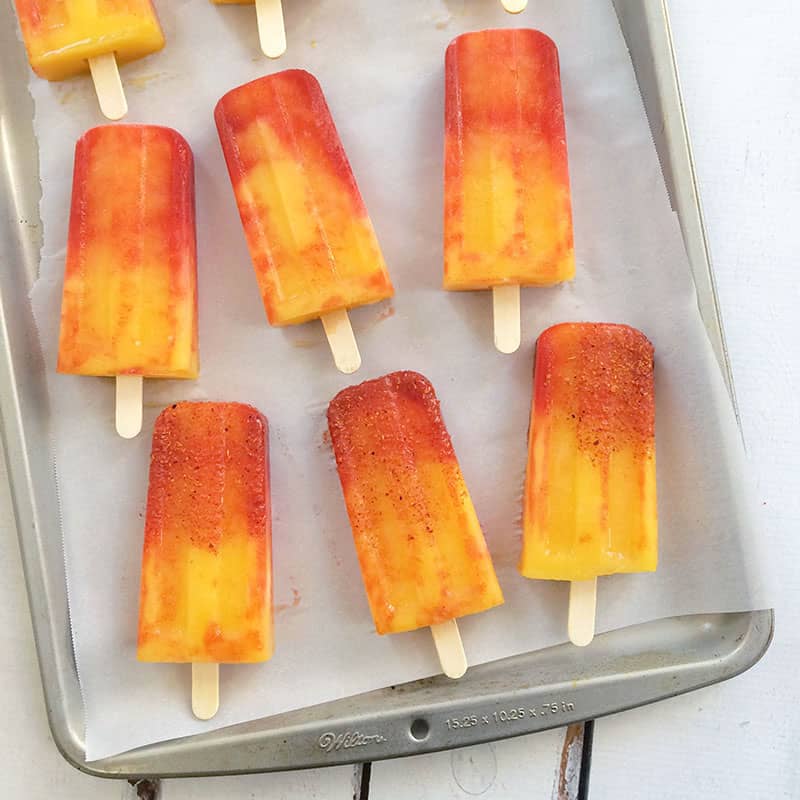
Mangonada popsicles
-
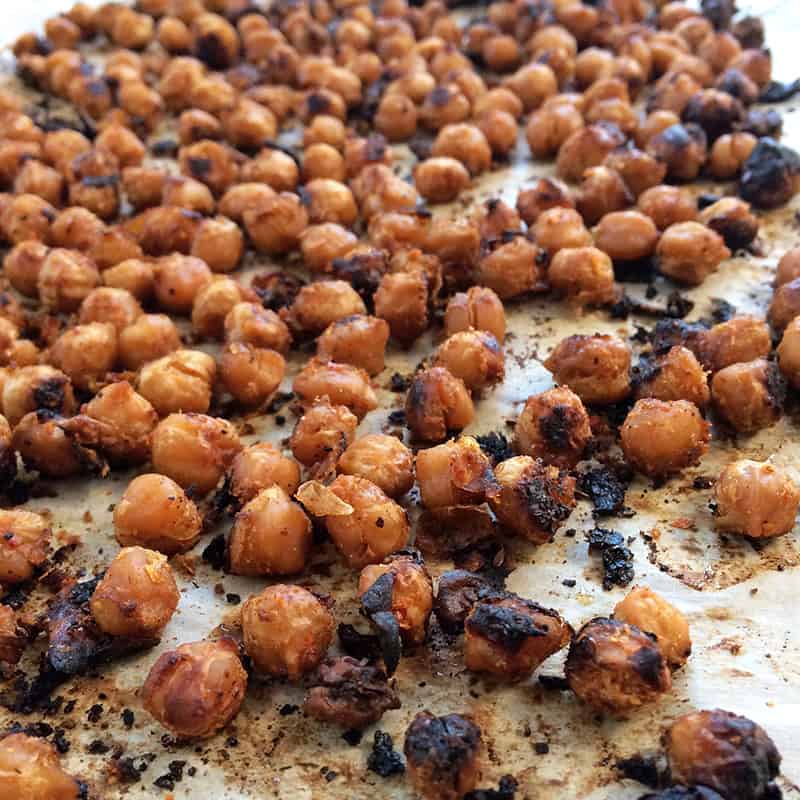
Roasted chickpeas with tajin
-
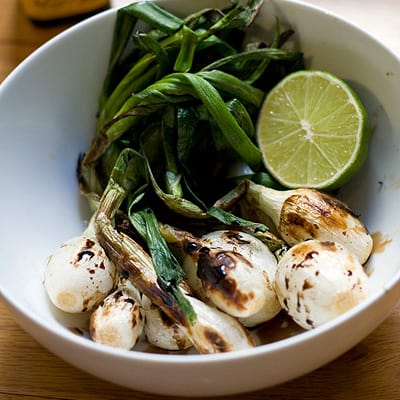
Cebollitas asadas
-
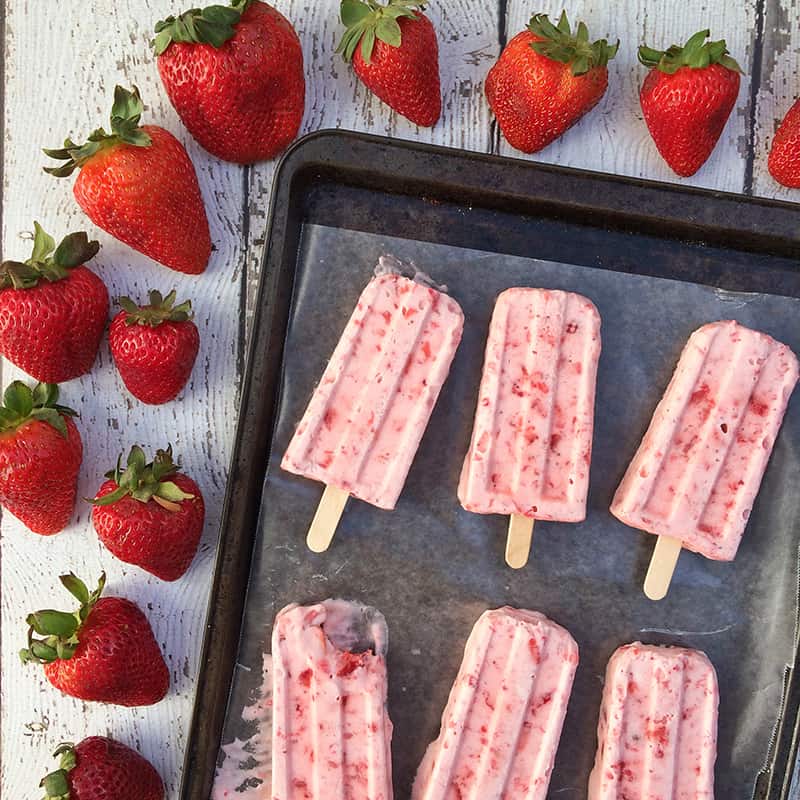
Paletas de fresas con crema
-
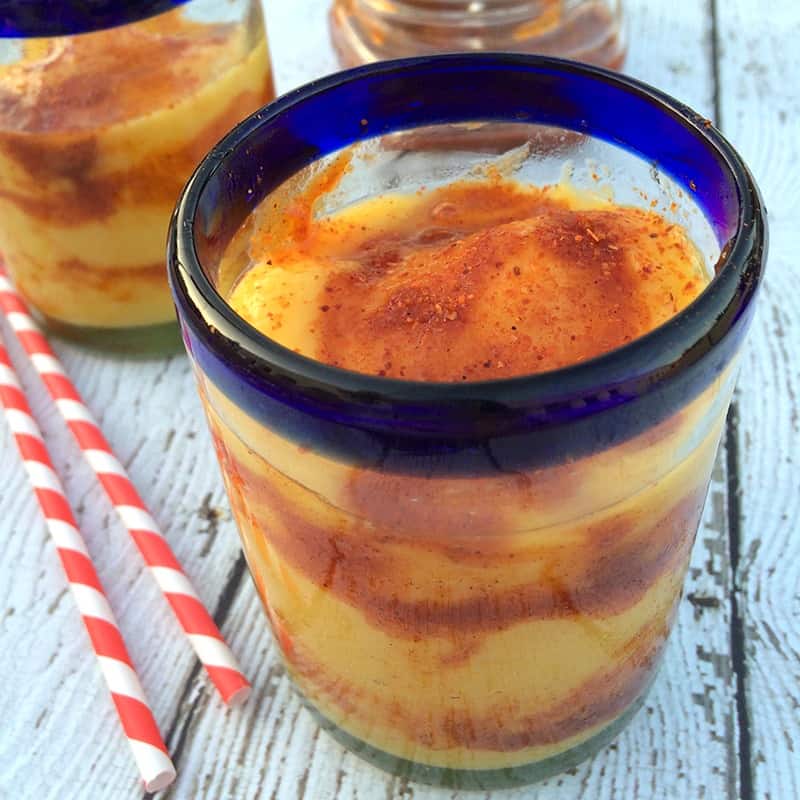
How to make mangonadas
-
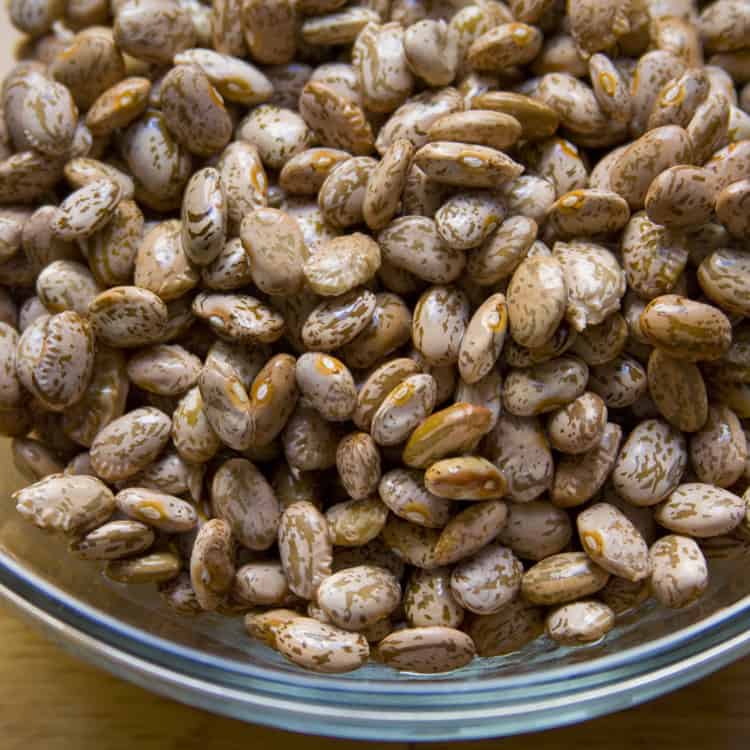
Crock-Pot frijoles de la olla
-
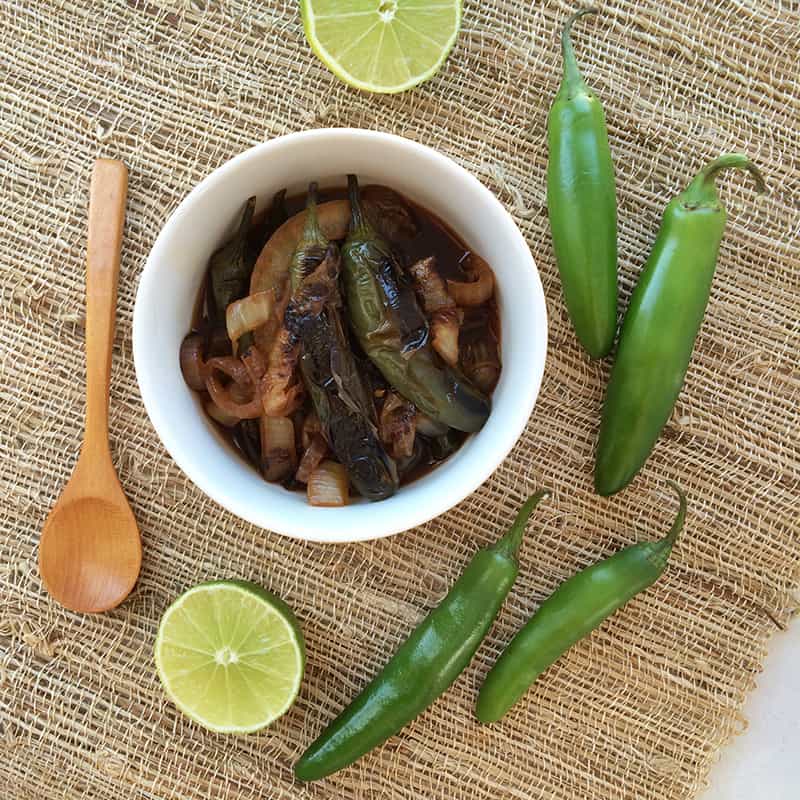
Chiles toreados
-
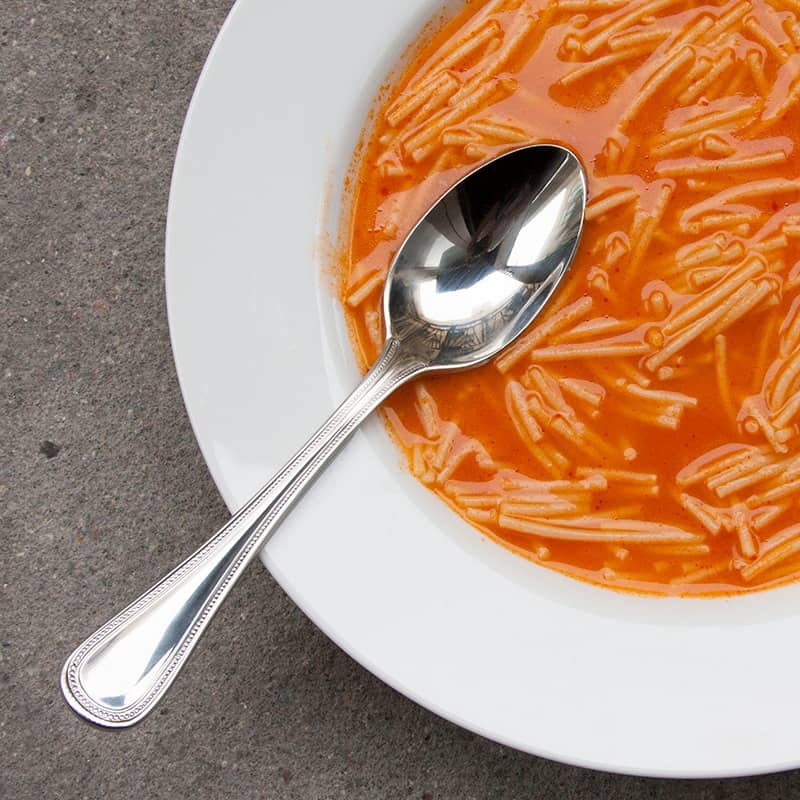
Sopa de fideo
-
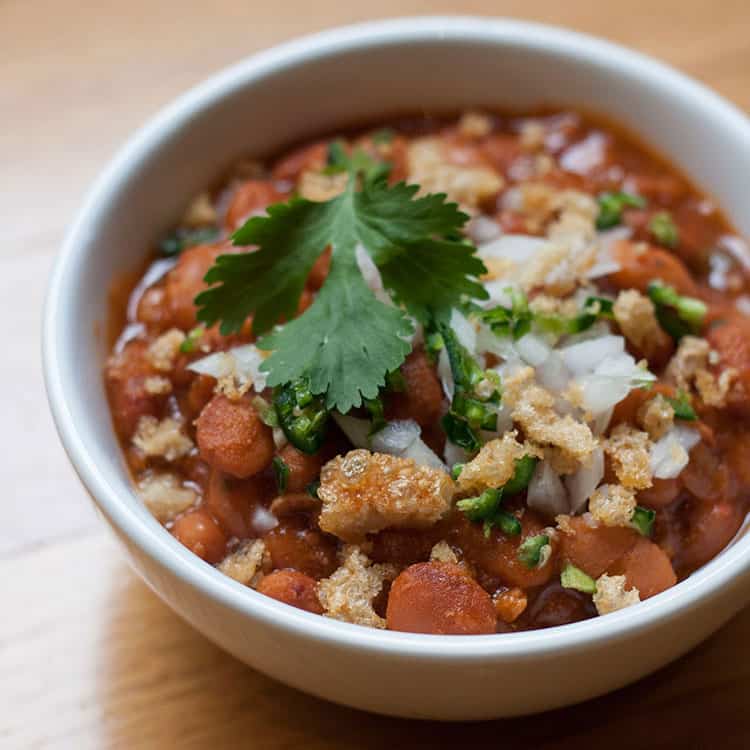
How to make frijoles charros