If you're a fan of sweet and sour candy, chamoy Gushers are a delicious twist on the nostalgic American gummy fruit snacks with a liquid candy center and a distinctly Mexican flavor.

These are sure to excite anyone whose tastebuds loves a tangy, sweet and sour treat. Whether you’re making them for a party, as a unique gift, or just for yourself, they’re a great way to experience the fusion of Mexican flavor and American candy culture.
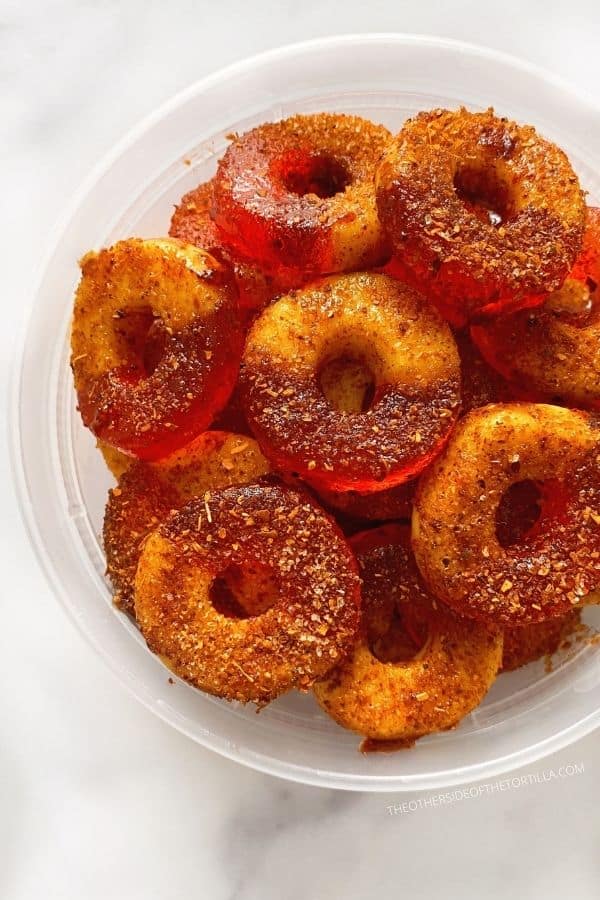
Pica fresas are my favorite chamoy-based Mexican candy, and I've made plenty of other desserts and snacks with chamoy here before, including chamoy peach rings, spicy mango gummies with chamoy, mangonada popsicles, and nieve de piña with a chamoy and Tajín topping. If, like me, you can't get enough of chamoy, this recipe is for you!
...